Introduction
We’re back with another installation of our GNURadio and REDHAWK integration pattern. Back in 2017, my colleague Thomas put together a very thorough post regarding his work to integrate these two SDR frameworks for a presentation at the GNURadio Convention that fall. I highly recommend starting there (Part 1) to get an overview of the project and where it began.
So why are here with a second part to this series? Well a couple of things have changed, most notably:
- REDHAWK version update to 2.2.1
- C++ REDHAWK port blocks replace Python implementations
REDHAWK Integration vs REDHAWK Integration Python
The biggest change since we last visited this project is the migration from Python source and sink blocks (gr-redhawk_integration_python) to C++ implementations (gr-redhawk_integration). The original implementation had throughput limitations and by moving to C++ we hoped to increase our performance in getting data through the component.
Example
Let’s rerun the example from the previous post, except this time let’s turn up the knob on the sample rate and see if we can’t get better performance out of our C++ ports over the old Python versions.
0. System setup
In order to run this example and Thomas’s previous example, it assumed that you have:
- Installed REDHAWK 2.2.1 from RPMs (REDHAWK Installation)
- Installed GNURadio (GNURadio Installation) (currently tested against the maint-3.7 branch at 3.7.13.5)
- Built docker-redhawk-ubuntu images on branch develop-2.2.1 (Docker REDHAWK Ubuntu)
- Cloned GNURadio REDHAWK project from Geontech’s GitHub (GNURadio-REDHAWK) and installed all the relevant pieces
$ cd <path-to-cloned>/gnuradio-redhawk/1-traditional
$ sudo make install-cc
$ make ri
$ make install-ri
$ cd <path-to-cloned>/gnuradio-redhawk/2-docker-aware
$ make gpp
$ make development
Our Flow Graph for this example is a basic FM receiver minus the receiver and GUI components. We can find this file here: gr-redhawk_integration/examples/fm_demod.grc.
1. Starting the Companion
$ mkdir ~/integ-blog-workspace
$ cp <path-to-cloned>/gnuradio-redhawk/gr-redhawk_integration/examples/fm_demod.grc ~/integ-blog-workspace
$ gnuradio-companion
Now that we have the GNURadio Companion up, we can open the example Flow Graph from above and you should see this:

2. Converting GRC to REDHAWK
For this demo, I am going to go with the traditional route. For an example of the Docker implementation, you can follow the instructions in the orignial post (gnuradio-redhawk-integration).
$ cd ~/integ-blog-workspace
$ <path-to-cloned>/gnuradio-redhawk/gr-component_converter/converter/run.py fm_demod.grc
Examining our workspace directory (~/integ-blog-workspace/fm_demod) a little further we can see what the conversion tool has created for us:
$ cd ~/integ-blog-workspace/fm_demod
$ ls
build.sh        fm_demod.prf.xml  fm_demod.spec
tests           fm_demod.scd.xml  fm_demod.spd.xml
python
3. Installation
Since we are running a standard CentOS 7-based REDHAWK Domain, we can go ahead and install our newly generated component the standard REDHAWK way using the build.sh script.
$ ./build.sh install
Looking in $SDRROOT, we can find our component:
$ ls $SDRROOT/dom/components/fm_demod
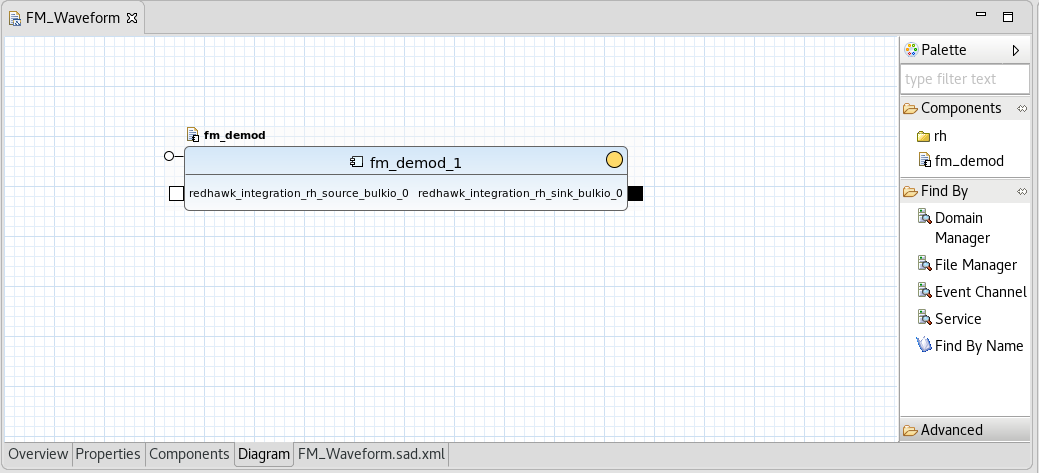
4. Waveform
Let’s open the REDHAWK IDE
$ rhide
and create a new Waveform by selecting File -> New -> REDHAWK Waveform Project.
Enter a name for the Waveform, like FM_Waveform and press Next.
Now we can select the fm_demod Component to use as our Assembly Controller and press Finish.
Installation
Right-click on the FM_Example project in the Project Explorer panel (left) and select Export to SDR from the menu. This installs our Waveform to $SDRROOT making it available to our locally-running Domain.
5. Run the Waveform
Now in the REDHAWK Explorer on the right side of the IDE, right-click the Domain nad select Launch Waveform. Select the FM_Waveform from the list and check the box to automatically start. Now press finish and wait for the waveform to launch.
6. Connect to Data
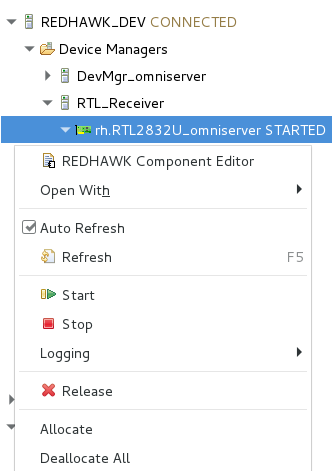
Since the flow graph we have running now does not have any hardware dependencies we have to provide our waveform with some data. We can do this by allocating an FEI receiver in REDHAWK and connecting it’s output to our waveform. To do that, let’s first set up the receiver to start receiving data on an FM channel. Right-click on your FEI receiver and select Allocate. In my case, I’m using an RTL Device.
Next, fill out the Tuner Allocation form.
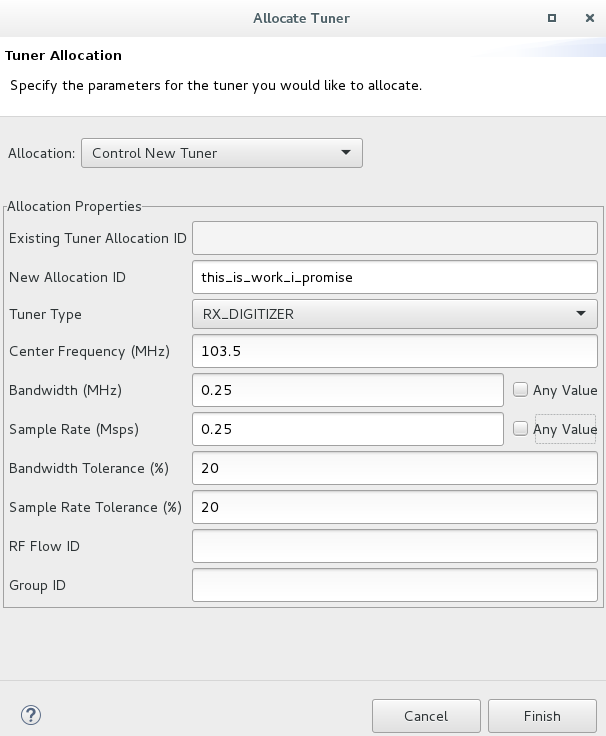
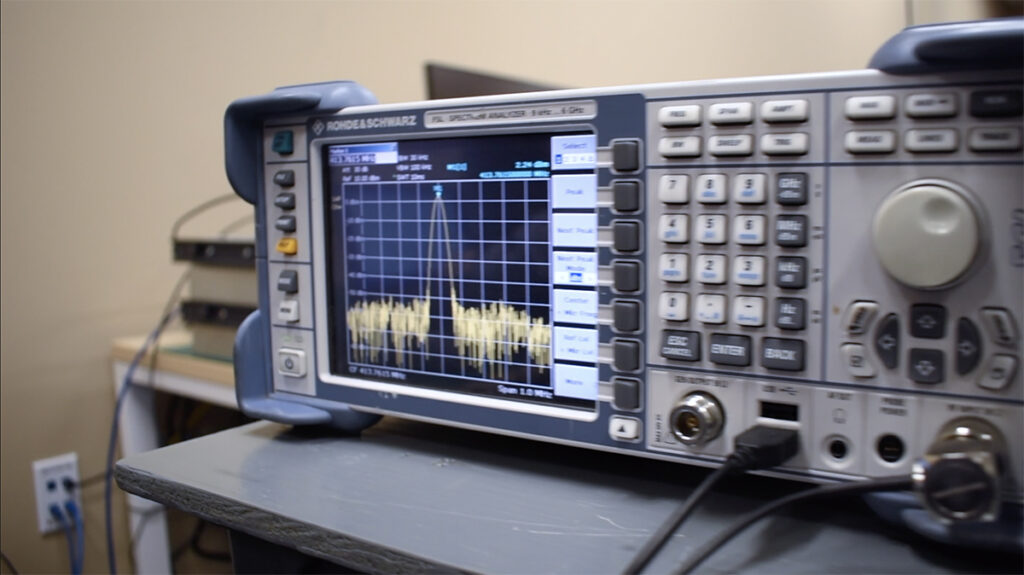
Press Finish to allocate the receiver and assuming that is successful we can view the output by right-clicking our allocated RX_DIGITIZER under FrontEnd Tuners of our device and selecting Plot Port FFT from the the dataFloat_out port.
With the tuner allocated and streaming data, we can again right-click on our tuner’s dataFloat_out port but this time select Connect to connect the output of the receiver to the input of our FM_Waveform.
Conclusion
Once again we should have successfully been able to run a GNURadio flowgraph inside of our REDHAWK Domain with the help of Docker and special GPP capable of running Docker component images. Thanks for running through our demo again and if you have any questions please feel free to reach out directly.